This is my personal blog. It’s mostly for me to keep track of things I’ve learned or done that might be of interest to others. Topics range from computer and technology issues, especially related to programming (Php, Java, and others), linguistics, backyard farming and animal husbandry (mostly chickens). Enjoy!
For those who don’t know, the Dissenter extension is a browser plugin that creates a comments section for any page on the internet, allowing for free discussion. It’s an incredibly valuable idea as more and more comments sections are disappearing for three principle reasons:
- Some sites feel that the quality of the discussion on comments section is low and so they don’t want to do the moderation work required to host it and keep it clean. Anyone who has scrolled through a comments section knows that there is an enormous quantity of garbage, spam, and ad hominem. However, there is often meaningful insight from individuals in the community with expertise in the areas being discussed in the original article. It does not take much skill or time to skim past the garbage to find the meaningful commentary. Killing comments sections amputates an important part of free discourse in the internet.
- Some sites are being threatened with demonetization by tech giants (especially Google, but also Twitter, Facebook, Amazon, Apple) based on the content of their comments sections. It is easier for a small internet opinion site to ax the comments section than to devote full time staff to policing it for content disapproved by Google. It goes without saying that this disapproval often cuts one political direction only.
- Some site, especially major news sites, would rather not have commenters either flatly disproving their reporting, or providing evidence that they don’t wish their audiences to see. It is a quest for more control over what the public is allowed to see and think about.
Most especially because of reason 3, Google and Apple acted quickly to block the extension from their extension stores. Dissenter responded by coming out with their own browser with the extension built in (a derivative of Chrome).
However, I wanted to continue using the Vivaldi browser, but still have the Dissenter extension. You cannot download the extension alone, only the browser, however, from the Dissenter site (that I am aware of).
You can find the code for the extension, though, on GitHub at https://github.com/gab-ai-inc/gab-dissenter-extension.
Once downloaded and extracted, go to the Build folder and within it to the “chrome” folder. I copied all the content there into a folder I labeled “dissenter”.
In the Vivaldi browser, go to vivaldi://extensions.
Click “Developer mode” in the upper right corner.
Click “Load Unpacked”, navigate inside the new Dissenter folder and click “Okay”.
This will load the Dissenter plugin.
I’m currently using Ubuntu 18.04 in the Spring of 2019 with three monitors. The nvidia-settings GUI works beautifully to set the settings, but they reset back to default when I reboot even if I ask it to save it.
A user on an old AskUbuntu thread using 17.04 had weird solution that worked for me.
- Adjust the settings using nvidia-settings
- After applying the settings, click the “Save to X Configuration File” Button
- [This step is the magic] Close nvidia-settings and open the stock Ubuntu display settings controller:
- Settings -> Devices -> Displays or just search for “Displays’
- Click “Apply”. The button probably won’t be displayed, so you’ll have to toggle a setting. I dragged one of the little tiny screen thumbnails around to a new position and then dragged it back. “Apply” disappeared, so I had to apply with it slight off where I wanted, then drag it back and click Apply again. After a reboot, all the settings were saved (though they didn’t get applied until I logged in).
I’ve been making Ginger Beer off and on using the recipe from Epicurious.com, but I’ve modified it and wanted to share (i.e. remember) it as I’ve modified the ginger extraction method.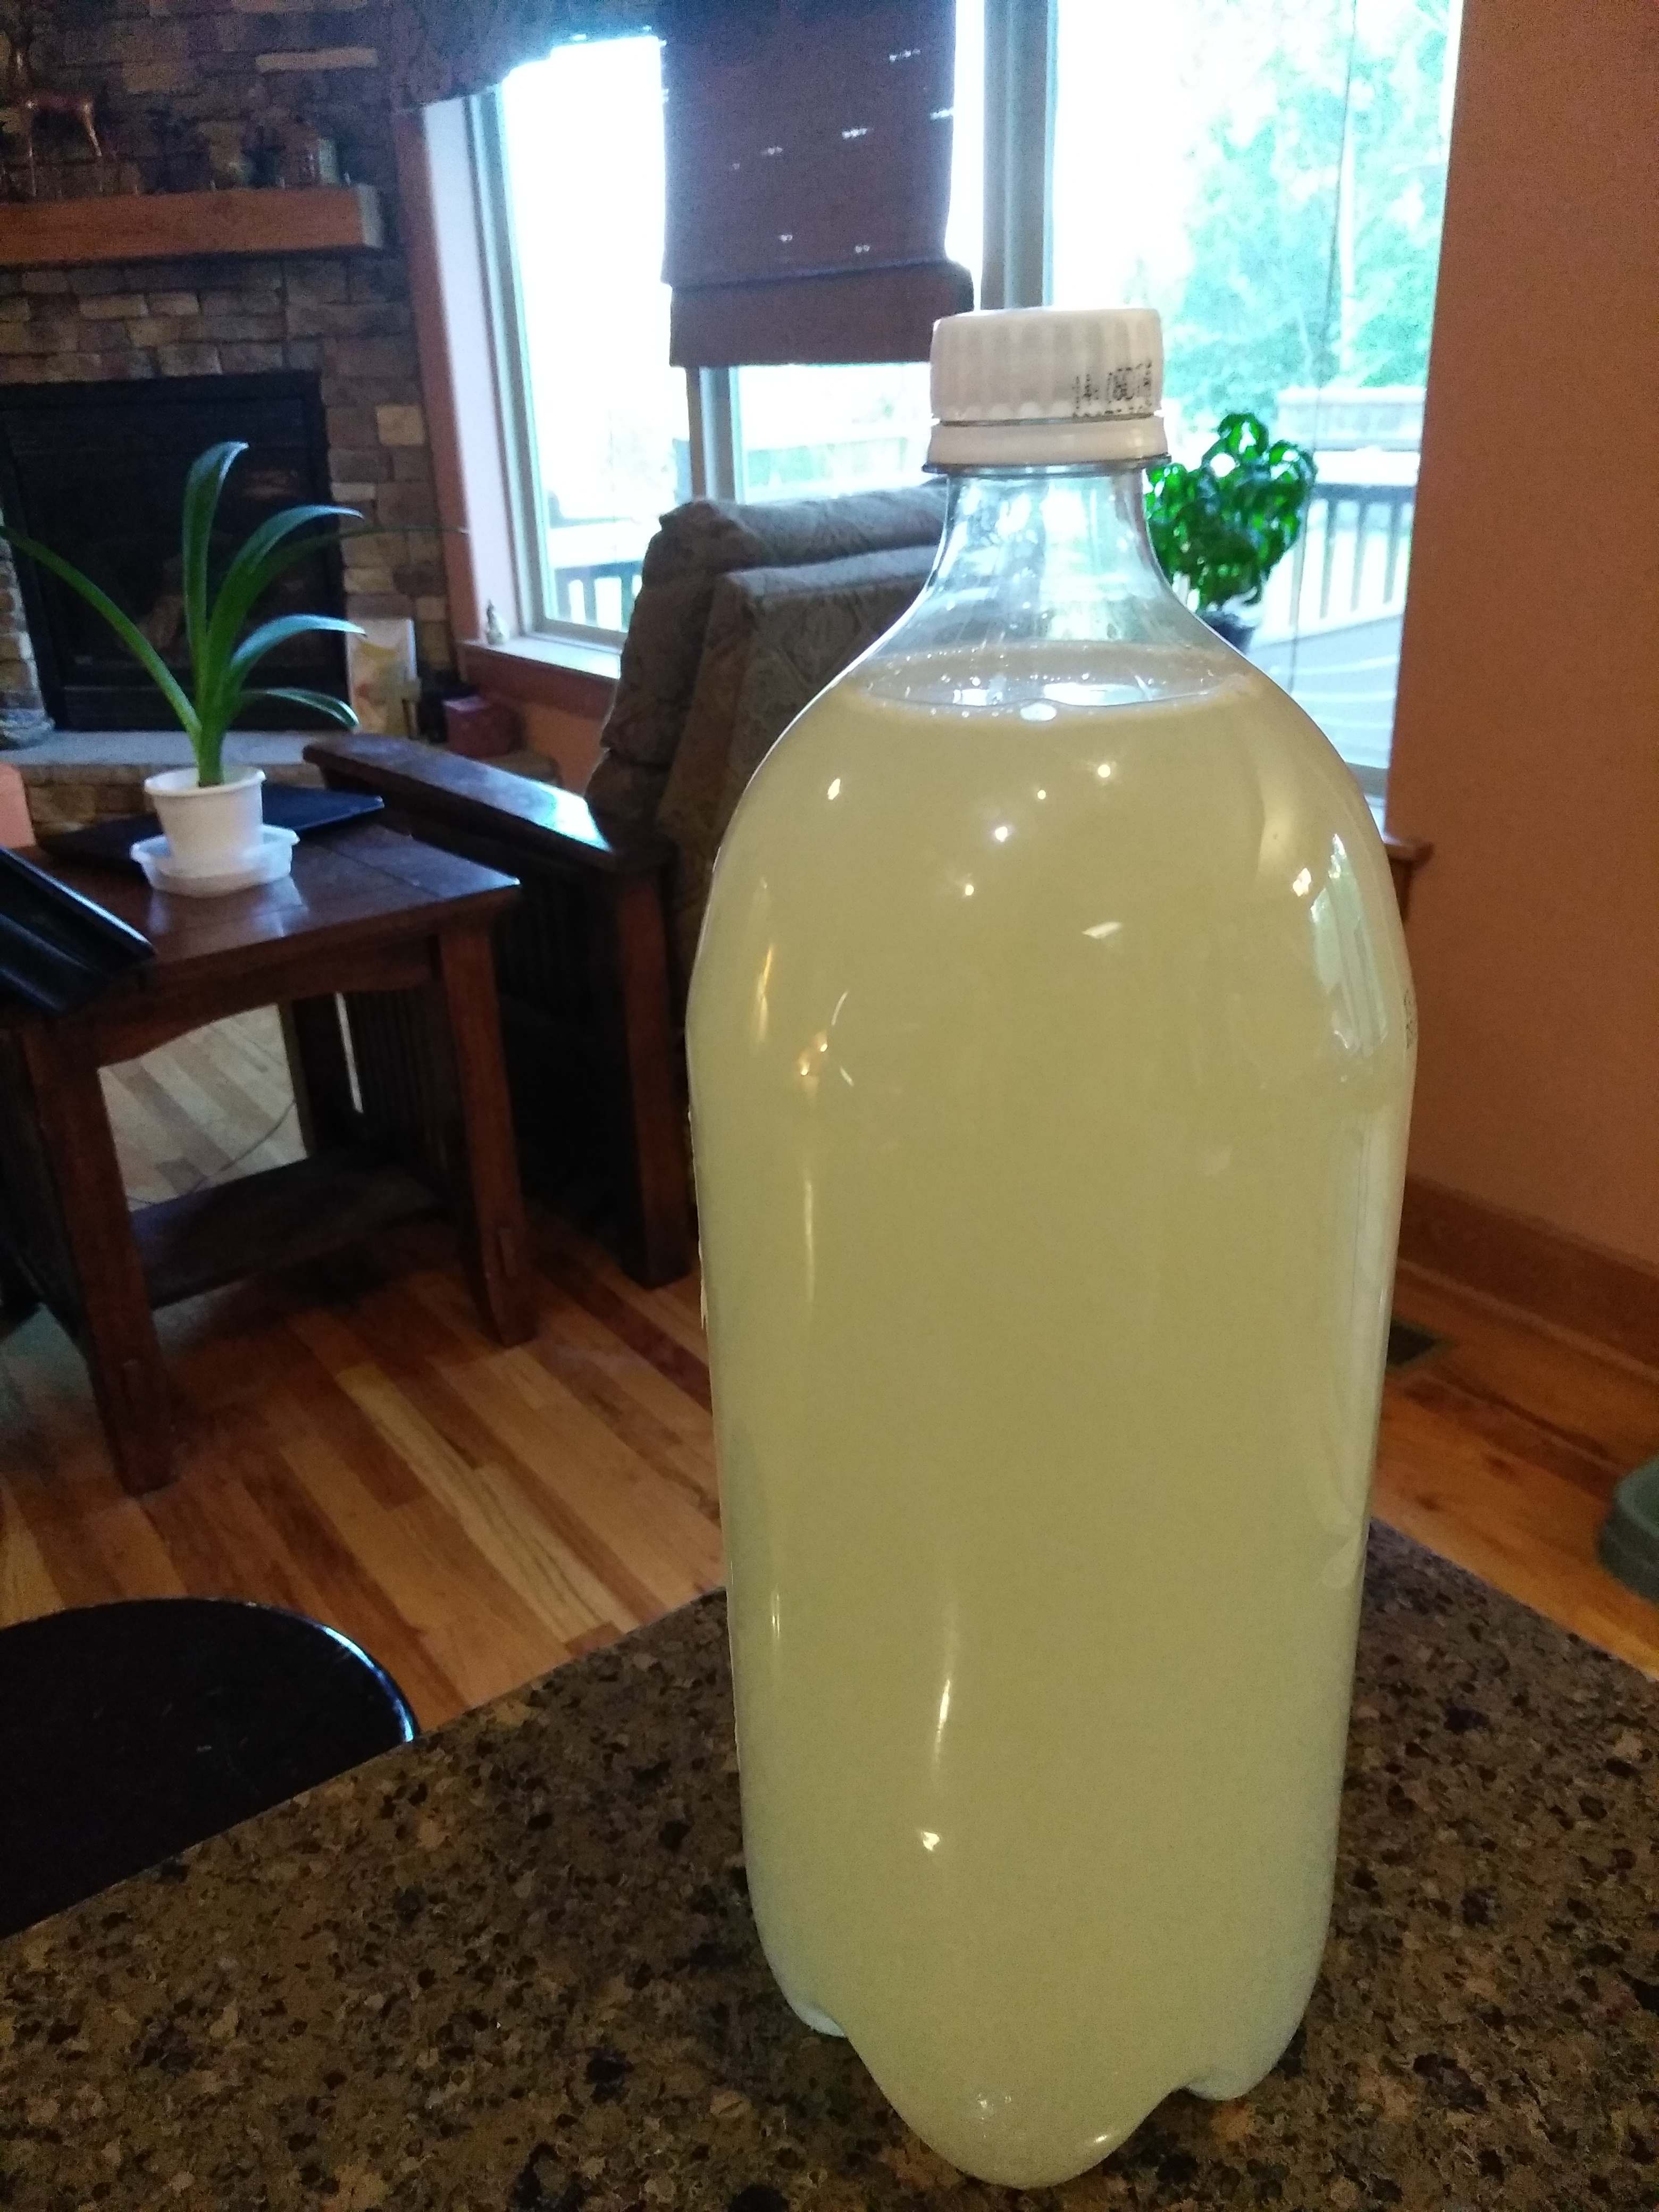
The recipe calls for 1/4 lb of fresh ginger root per 2 liters of product, to be extracted using a Microplane grater.
Instead, I put the raw ginger in a Blendtec (similar to Vitamix) blender with water and pulsed to extract the ginger juice. I believe it extracts much more of the ginger flavor, requiring an adjustment in the recipe. So, here’s what I did:
- Wash and break up 1 pound of ginger and place it in the blender.
- Add water until it reaches 1.2 liters
- Blend until it is thoroughly broken down.
- Pour the mixture through a wire mesh strainer to remove the pulp.
- Pour the strained mixture into ice cube trays (mine filled about 40 cubes)
- Freeze the cubes.
- Sterilize some 2-liter bottles. I used 4. To sterilize, I washed, filled with hot water, added a small amount of bleach, let it sit, then thoroughly rinsed.
- After the cubes were frozen, I added to each bottle:
- 1 cup of sugar
- 1/4 tsp yeast
- 1.5 tbsp lemon juice
- 4 frozen ginger cubes (melted in some hot water)
- Enough water to fill the remainder of the bottle
- Cap and shake to dissolve the sugar.
- Wait for it to ferment (about 2 days)
- Save the remaining ginger cubes for your next batch.
After 2 days, it is lightly carbonated and very minimally alcoholic. If you leave it longer, the alcohol content will increase up to a point, as will the carbonation. It seems wise to let off some of the pressure periodically if you let it go more than two days. I’ve never had a bottle explode, but they have gotten extremely taught, with the dimples on the bottom of the bottle popping out.
The longer you let it go, the less sweet it is, also. I’ve sometimes added a single Splenda/sucralose packet to re-sweeten it. If you do this, dissolve the sweetener in water before adding it. Otherwise, it explodes like Mentos + Diet Coke.
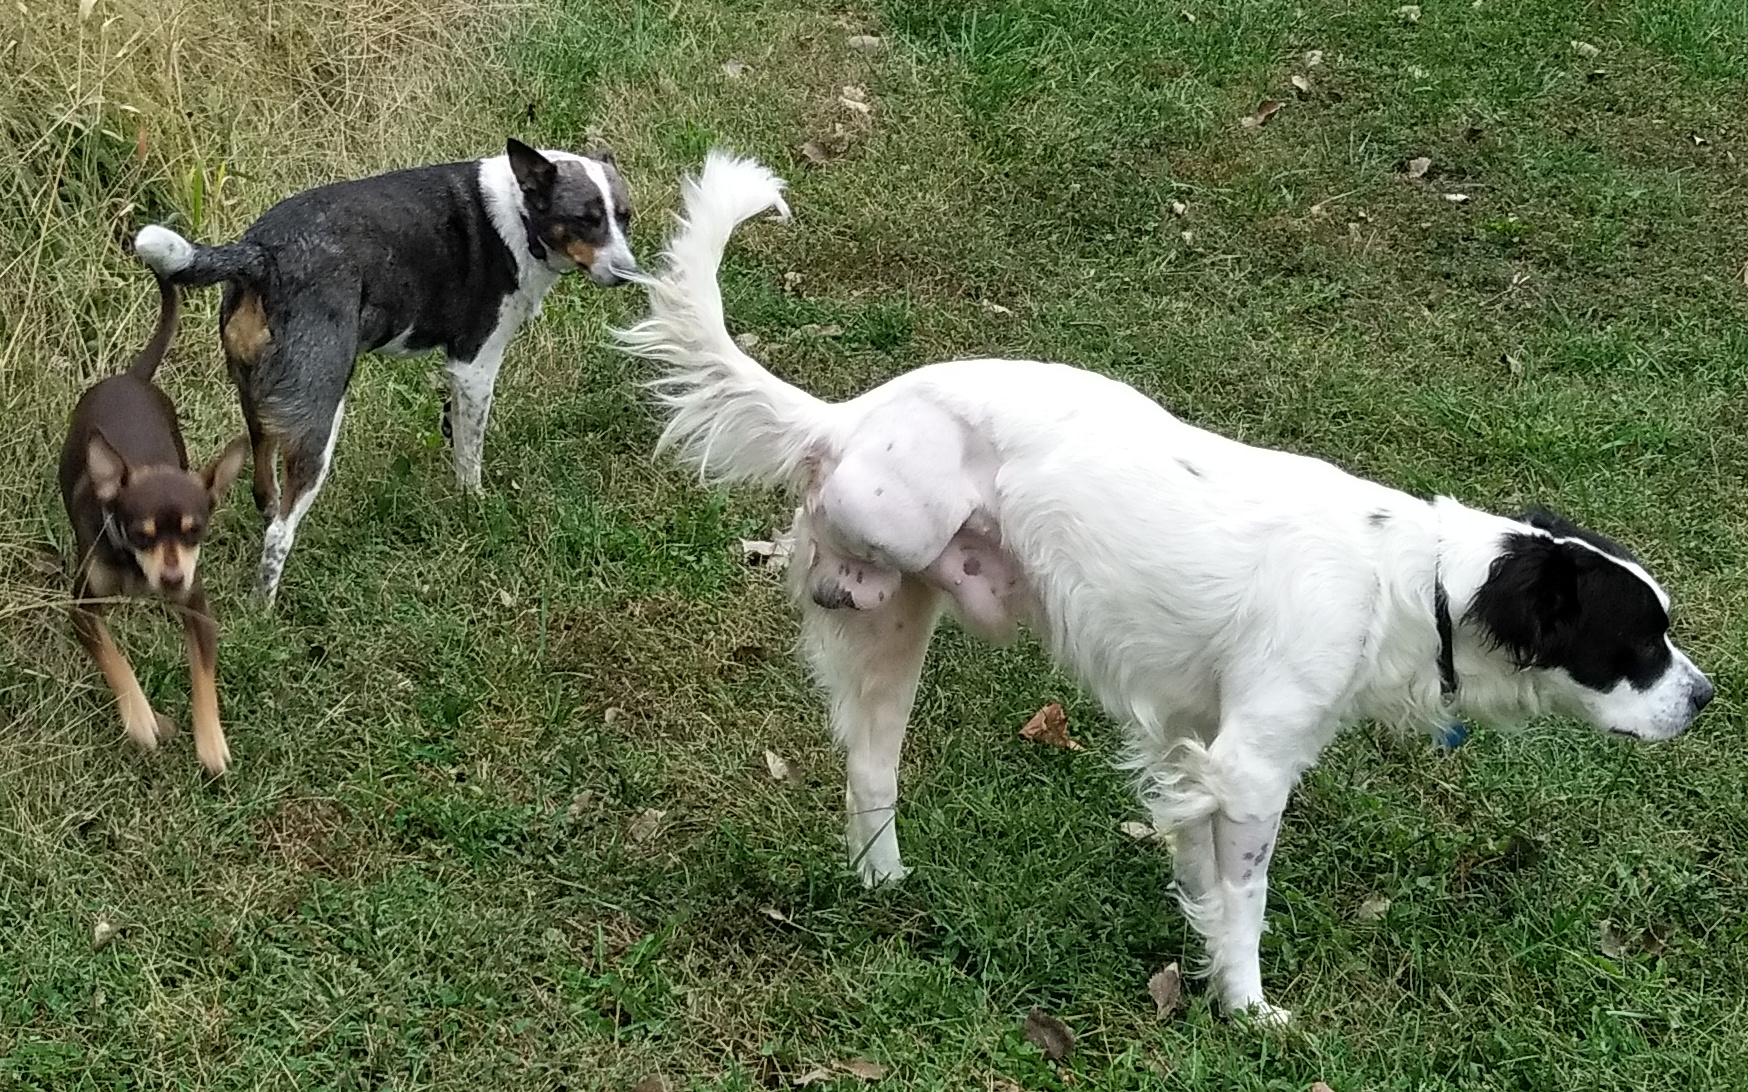
Adopted our third (and final) rescue dog. This one only came with three legs.
RDP Wrapper allows you to connect to a Windows 10 Home computer using Remote Desktop.

RDP Wrapper stopped working with the Creators update to Windows.
YouJoy on the RDPWrap GitHub page found a solution, adding the file c:\windows\system32/rfxvmt.dll
See the original post.
Download rfxvmnt.dll
Learn more about RDP Wrapper